4.6. Translate Admin Customizations
In this chapter, you'll learn how to add translations to your Medusa Admin widgets and UI routes.
Translations in the Medusa Admin#
The Medusa Admin dashboard supports multiple languages for its interface. Medusa uses react-i18next to manage translations in the admin dashboard.
When you create Widgets or UI Routes to customize the Medusa Admin, you can provide translations for the text content in your customizations, allowing users to view your customizations in their preferred language.
You can add translations for your admin customizations within your Medusa project or as part of a plugin.
How to Add Translations to Admin Customizations#
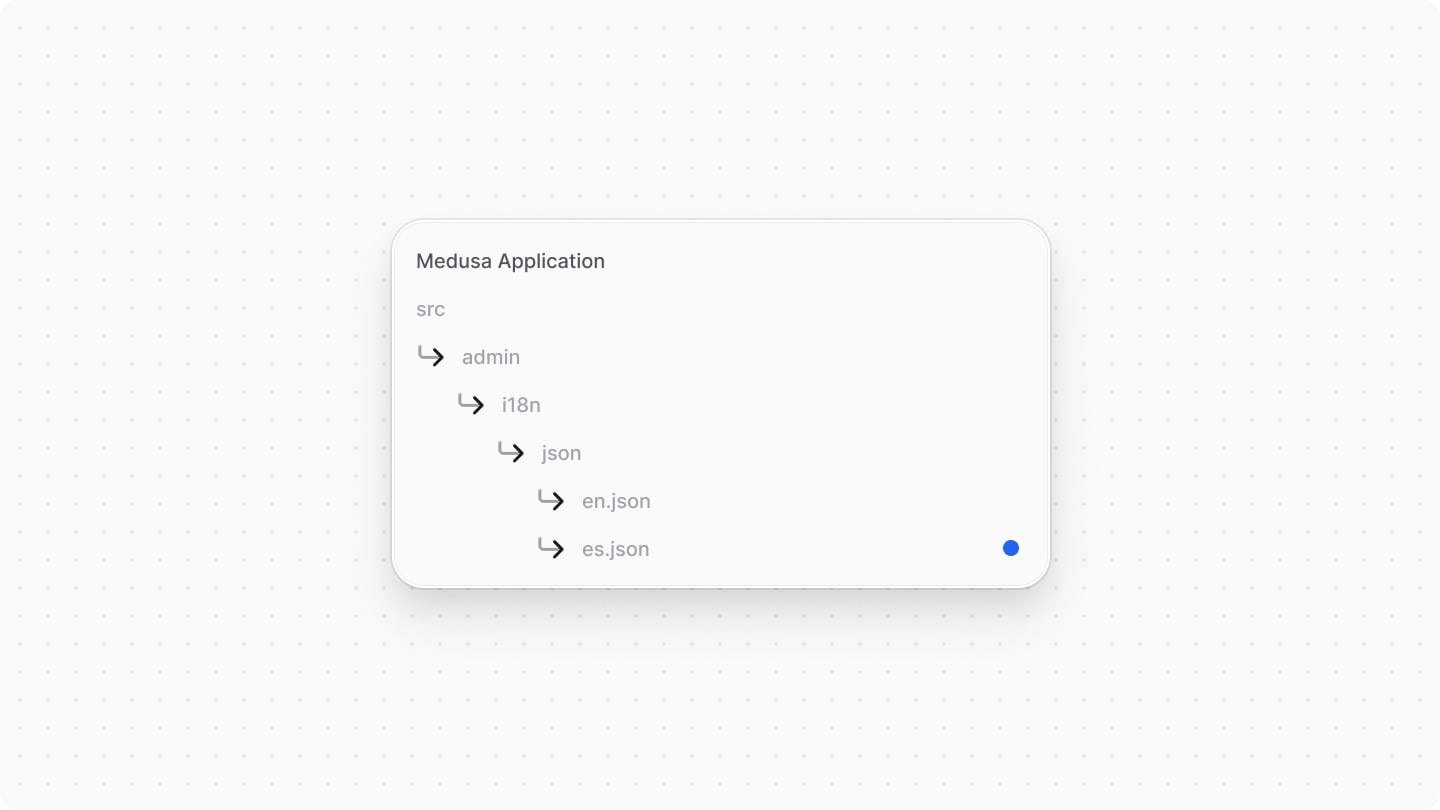
Step 1: Create Translation Files#
Translation files are JSON files containing key-value pairs, where the key identifies a text string and the value is the translated text or a nested object of translations.
For example, to add English translations, create the file src/admin/i18n/json/en.json with the following content:

You can create additional translation files for other languages by following the same structure. For example, for Spanish, create src/admin/i18n/json/es.json:
Step 2: Load Translation Files#
Next, to load the translation files, create the file src/admin/i18n/index.ts with the following content:

The src/admin/i18n/index.ts file imports the JSON translation files. You must include the with { type: "json" } directive to ensure the JSON files load correctly.
The file exports an object that maps two-character language codes (like en and es) to their respective translation data.
Step 3: Use Translations in Admin Customizations#
Finally, you can use the translations in your admin customizations by using the useTranslation hook from react-i18next.
react-i18next package is already included in the Medusa Admin's dependencies, so you don't need to install it separately. However, pnpm users may need to install it manually due to package resolution issues.For example, create the file src/admin/widgets/product-brand.tsx with the following content:
1import { defineWidgetConfig } from "@medusajs/admin-sdk"2import { Button, Container, Heading } from "@medusajs/ui"3import { useTranslation } from "react-i18next"4 5const ProductWidget = () => {6 const { t } = useTranslation()7 return (8 <Container className="p-0">9 <div className="flex items-center justify-between px-6 py-4">10 <Heading level="h2">{t("brands.title")}</Heading>11 <p>{t("brands.description")}</p>12 </div>13 <div className="flex justify-end px-6 py-4">14 <Button variant="primary">{t("done")}</Button>15 </div>16 </Container>17 )18}19 20export const config = defineWidgetConfig({21 zone: "product.details.before",22})23 24export default ProductWidget
In the above example, you retrieve the t function from the useTranslation hook. You then use this function to get the translated text by providing the appropriate keys defined in your translation JSON files.
Nested keys are joined using dot notation. For example, brands.title refers to the title key inside the brands object in the translation files.
Test Translations#
To test the translations, start the Medusa application with the following command:
Then, go to a product details page in the Medusa Admin dashboard. If your default language is set to English, you'll see the widget displaying text in English.
Next, change the admin language to Spanish. The widget will now display the text in Spanish.
How Translations are Loaded#
When you load the translations with the translation key in src/admin/i18n/index.ts, your custom Medusa Admin translations are merged with the default Medusa Admin translations:
- Translation keys in your custom translations override the default Medusa Admin translations.
- The default Medusa Admin translations are used as a fallback when a key is not defined in your custom translations.
For example, consider the following widget and translation file:
The widget will render the following for each translation key:
brands.title: Defined in your custom translation file, so it outputsCustom Brands Title.brands.description: Not defined in your custom translation file or the default Medusa Admin translations, so it outputs the key itself:brands.description.actions.save: Defined in your custom translation file, so it outputsCustom Save.actions.delete: Not defined in your custom translation file, so it falls back to the default Medusa Admin translation and outputsDelete.
Custom Translation Namespaces#
To avoid potential key conflicts between your custom translations and the default Medusa Admin translations, you can use custom namespaces. This is particularly useful when developing plugins that add admin customizations, as it prevents naming collisions with other plugins or the default Medusa Admin translations.
To add translations under a custom namespace, change the [language].translation key in the src/admin/i18n/index.ts file to your desired namespace:
The translation files will now be loaded under the brands namespace.
Then, in your admin customizations, specify the namespace when using the useTranslation hook:
1import { defineWidgetConfig } from "@medusajs/admin-sdk"2import { Button, Container, Heading } from "@medusajs/ui"3import { useTranslation } from "react-i18next"4 5// The widget6const ProductWidget = () => {7 const { t } = useTranslation("brands")8 return (9 <Container className="p-0">10 <div className="flex items-center justify-between px-6 py-4">11 <Heading level="h2">{t("brands.title")}</Heading>12 <p>{t("brands.description")}</p>13 </div>14 <div className="flex justify-end px-6 py-4">15 <Button variant="primary">{t("done")}</Button>16 </div>17 </Container>18 )19}20 21// The widget's configurations22export const config = defineWidgetConfig({23 zone: "product.details.before",24})25 26export default ProductWidget
Translations are now loaded only from the brands namespace without conflicting with other translation keys in the Medusa Admin.
Translation Tips#
Translation Organization#
To keep your translation files organized, especially as they grow, consider grouping related translation keys into nested objects. This helps maintain clarity and structure.
It's recommended to create a nested object for each domain (for example, brands, products, etc...) and place related translation keys within those objects. This makes it easier to manage and locate specific translations.
For example:
You can then access these nested translations using dot notation, such as brands.title or brands.actions.add.
Variables in Translations#
Translation values can include variables that are dynamically replaced at runtime. Variables are defined using double curly braces {{variableName}} in the translation files.
For example, in your translation file src/admin/i18n/json/en.json, define a translation with a variable:
Then, in your admin customization, pass the variable value in the second object parameter of the t function:
This will output: Welcome, John!
Pluralization#
The t function supports pluralization based on a count value. You can define singular and plural forms in your translation files using the _one, _other, and _zero suffixes.
For example, in your translation file src/admin/i18n/json/en.json, define the following translations:
Then, in your admin customization, use the key without the suffix and provide the count variable:
This will render one of the following based on the value of itemCount:
- If
itemCountis0,item_count_zerois used:You have no items. - If
itemCountis1,item_count_oneis used:You have 1 item. - If
itemCountis greater than1,item_count_otheris used:You have X items.
Element Interpolation#
Your translation strings can include HTML or React element placeholders that are replaced with actual elements at runtime. This is useful for adding links, bold text, or other formatting within translated strings.
Elements to be interpolated are defined using angle brackets <index></index> in the translation files, where index is a zero-based index representing the element's position.
For example, in your translation file src/admin/i18n/json/en.json, define a translation with element placeholders:
Then, in your admin customization, import the Trans component from react-i18next that allows you to interpolate elements:
Finally, use the Trans component in the return statement to render the translation with the interpolated elements:
The components prop is an array of React elements that correspond to the placeholders defined in the translation string. In this case, the <0></0> placeholder is replaced with the anchor <a> element.
Passing Variables with Element Interpolation
You can also pass translation variables to the Trans component as props. For example, to include a username variable:
The username prop replaces the {{username}} variable in the translation string, and the <0></0> placeholder is replaced with the <strong> element.
Using Namespaces with Element Interpolation
If you're loading translations from a custom namespace, specify the namespace in the Trans component using the ns prop:
The ns prop indicates that the translation should be loaded from the brands namespace.
Multiple Element Interpolation
You can interpolate multiple elements by defining multiple placeholders in the translation string and providing corresponding elements in the components array.
For example, define the following translation string:
Then, in your admin customization, you can use the Trans component with multiple elements:
The first placeholder <0></0> is replaced with the <strong> element, and the second placeholder <1></1> is replaced with the anchor <a> element.